Good bread doesn’t start with mixing flour and water. It begins with a clean, organized kitchen, the right tools, and a smooth way of working. Whether you’re new to making bread or already using a bread maker, the proper setup makes everything easier. When your space is tidy and everything is in the right place, you make fewer mistakes, save time, and bake better loaves. Baking also starts to feel relaxing instead of tiring.
Essential Tools for Bread Making
To bake well, you need a few basic tools. These make the whole process smoother and more consistent.
- Digital kitchen scale for accurate measurements
- Measuring cups and spoons for quick use
- Mixing bowls in different sizes that don’t move while mixing
- Wooden spoons, spatulas, and dough scrapers to handle sticky dough
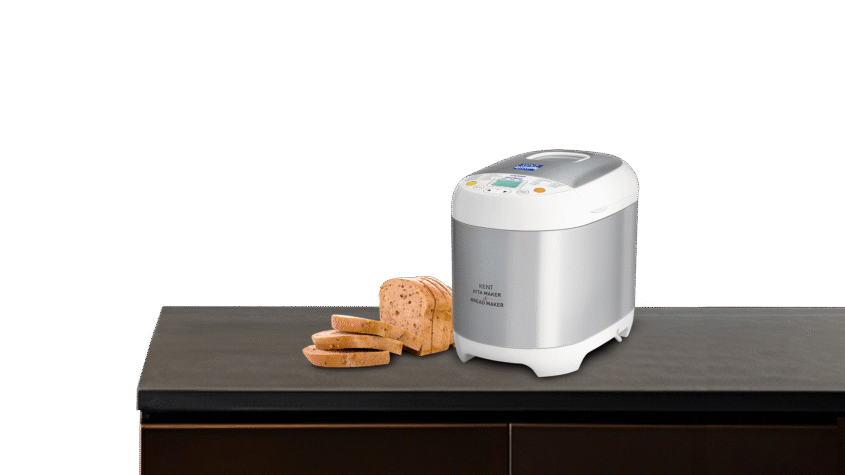
- A fixed spot on the counter for your Bread Maker, so you don’t keep moving it
- Clean cloths or plastic wrap to cover the dough while it rests
With these tools nearby, you can bake without stress or delay.
Organizing Ingredients for Quick Access
Keeping ingredients close and easy to reach saves time and keeps your kitchen clean. Here’s how to store them:
- Keep flour (all-purpose or whole wheat) in airtight containers
- Store yeast in sealed jars in the fridge or freezer
- Place sugar, salt, and oil near your mixing area
- Label containers with dates so you know how fresh they are
This setup keeps everything handy, so you can focus on baking, not searching.
Must Read: Air Fryer Recipes for Quick and Delicious Meals
3. Creating a Dough-Friendly Workspace
Your dough needs space. Make sure your countertop is flat, clean, and steady. Marble, granite, or wooden surfaces work well because they stay cool. If you don’t have enough counter space, use a large silicone mat.
Keep a small bowl of flour or oil nearby so the dough doesn’t stick to your hands. A clear workspace helps you knead and shape dough comfortably.
Maintaining the Right Kitchen Environment
Dough rises best in a warm place. If the room is too cold, the dough may not rise well. Place the bowl near an oven that’s turned off but still slightly warm if needed. Keep the dough away from direct sun, windows, or fans. Cover it with a damp cloth or plastic wrap to retain moisture and prevent the surface from drying out.
Smart Storage and Care of Tools
Good storage makes bread-making faster and keeps tools in good shape. Here’s what to do:
- Store loaf pans, baking trays, and cooling racks vertically or in sliding drawers.
- Keep stand mixers and other Cooking Appliances near your workspace.
- Wipe and clean appliances after use to prevent vents from getting dusty.
- Wash dough tools right away so the dough doesn’t harden on them.
- Check the power cord of your bread maker regularly to ensure it’s safe to use.
Organized storage saves time and keeps everything working well for longer.
Cleaning and Safety Tips
A clean kitchen is safer and easier to work in. Make these steps a habit:
- Wipe countertops after mixing or kneading
- Wash bowls, trays, and utensils with mild soap
- Let appliances cool before cleaning them
- Keep water away from electric outlets, and dry your hands before touching switches
- Store knives and sharp tools safely
Keeping things clean helps you bake better and avoid accidents.
Conclusion
You don’t need expensive tools or high-end cooking appliances to set up a great bread-making kitchen. Simple tools, clean spaces, organized ingredients, and steady habits are enough to make a real difference. When everything is in order, baking becomes easier, more enjoyable, and more consistent. Over time, it turns into a comforting routine you look forward to.

What Makes a Good IVF Clinic in Bangalore? Key Factors to Know
Choosing the right IVF clinic is one of the most important decisions for couples strugglin…

Why ABQ Realtors Are Seeing High Demand in the Metro Area
The Albuquerque metro area has experienced a noticeable surge in housing activity over the …

