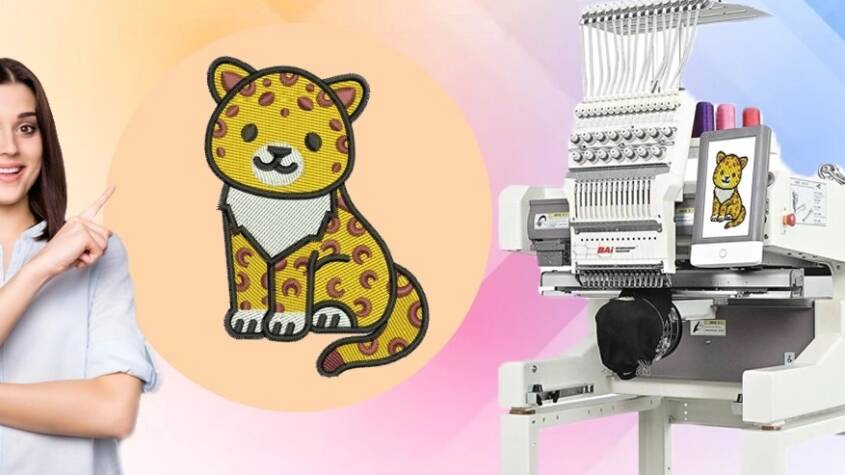
Left-chest logos are the quiet workhorses of branded apparel. They sit perfectly on polos, jackets, and uniforms, adding that professional touch without overwhelming the garment. The challenge comes when your client hands over a JPG or PNG and you need to turn it into something a BAi embroidery machine can actually stitch. BAi machines, popular for their speed and affordability in small shops, rely on clean stitch files to deliver sharp, durable results in that prime 3- to 4-inch spot. Getting the conversion right means crisp text, solid fills, and no puckering on stretchy fabrics. Here’s how pros handle the process when they convert logo to BAi embroidery file.
Start with Clean, High-Quality Artwork
Everything hinges on the source. A pixelated logo from a website screenshot will force extra work later. Ask for vector files whenever possible, as they scale perfectly without losing edges. If it’s raster, upscale with smart tools to preserve details, then simplify colors and remove backgrounds. This preparation ensures the digitizing software interprets shapes accurately, leading to fewer adjustments and better stitch flow.
Choose Reliable Digitizing Software
BAi machines thrive on DST and DSB formats, so your software needs strong export options for those. Many digitizers favor programs with intuitive auto-tracing and manual controls. These tools handle small details like thin letters or fine outlines common in left-chest designs. The interface should allow easy resizing to fit the typical 3.5-inch width while maintaining proportion.
Simplify the Design for Small-Scale Stitching
Left-chest areas demand restraint. Pros reduce color counts aggressively, merge similar shades, and thicken thin lines to avoid thread breaks. Small text gets special attention—widening columns and choosing block fonts that read clearly from a distance. This simplification keeps stitch counts reasonable, preventing bulky embroidery that stiffens lightweight shirts.
Assign Stitch Types Thoughtfully
Different elements require different approaches. Satin stitches work wonders for borders and lettering, creating that glossy, professional finish. Fill stitches cover larger areas with tatami patterns to add texture without excess density. Underlay becomes crucial here, providing a foundation that stops sinking on knits and puckering on wovens. Pull compensation adds slight overlaps to maintain shape after fabric stretch.
Optimize Density and Pathing
BAi machines run fast, but dense designs slow them down and risk garment damage. Pros dial density lower for left-chest work, aiming for coverage that feels soft against skin. Pathing sequences matter too—grouping same-color sections minimizes jumps and trims, speeding production and reducing thread waste. A well-optimized file stitches efficiently, even on multi-head setups.
Match Threads and Test Thoroughly
Thread selection impacts the final look. Matching to common charts ensures colors pop without surprises. Before running batches, stitch tests on the exact garment fabric. Watch for registration issues, gaps at color meets, or distortion on curved chests. These tests reveal tweaks needed for perfect alignment and durability.
Export and Transfer Correctly
Save in DST or DSB for native BAi compatibility. These formats preserve stitch data best on commercial machines. Transfer via USB or wireless options, double-checking the file loads properly on the touchscreen. A smooth export means the design runs flawlessly from the first hoop.
Common Adjustments for Left-Chest Perfection
Curved placements often need slight mirroring or rotation for natural flow. Adding subtle outlines in matching thread helps logos stand out on busy patterns. For textured fabrics like fleece, lighter densities prevent burying details. These refinements turn good embroidery into standout branding.
Wrap-Up
Turning a logo into a BAi-ready file for left-chest placement transforms ordinary apparel into polished, professional pieces. The process rewards attention to detail—from artwork prep through testing—resulting in embroidery that lasts wash after wash. Shops that master this workflow build reputations for quality that keeps clients coming back. Next time a logo lands on your desk, approach the conversion with these principles, and watch simple designs become signature statements on every garment.
What Makes a Good IVF Clinic in Bangalore? Key Factors to Know
Choosing the right IVF clinic is one of the most important decisions for couples strugglin…

Why ABQ Realtors Are Seeing High Demand in the Metro Area
The Albuquerque metro area has experienced a noticeable surge in housing activity over the …


